







Personal Area
Personal Area
The WDT method: how to prep the perfect espresso puck
If your espresso shots spray sideways instead of flowing straight down, taste sour and bitter at the same time, or just refuse to pull consistently from one day to the next, the problem usually isn't your beans or your machine. It's what happens in the ten seconds between grinding and tamping. That's where the Weiss Distribution Technique, or WDT, comes in: a simple stirring method that has become close to standard practice among home baristas seeking consistent extraction.
This guide covers what WDT actually does, the physics of why it works, how to do it properly, and when you can skip it entirely.
WDT method at a glance
What it is |
Stirring ground coffee with fine needles before tamping |
What it fixes |
Clumping and uneven density in the coffee bed |
What it prevents |
Channeling (water carving a path through the puck instead of flowing evenly) |
Tools needed |
A thin needle or pin; dedicated WDT tools are optional |
Time required |
10–15 seconds per shot |
Who benefits most |
Home baristas using grinders with smaller burrs (under ~58mm) |
Who may not need it |
Setups with large, high-end grinders that already produce clump-free grounds |
What Is WDT (Weiss Distribution Technique)?
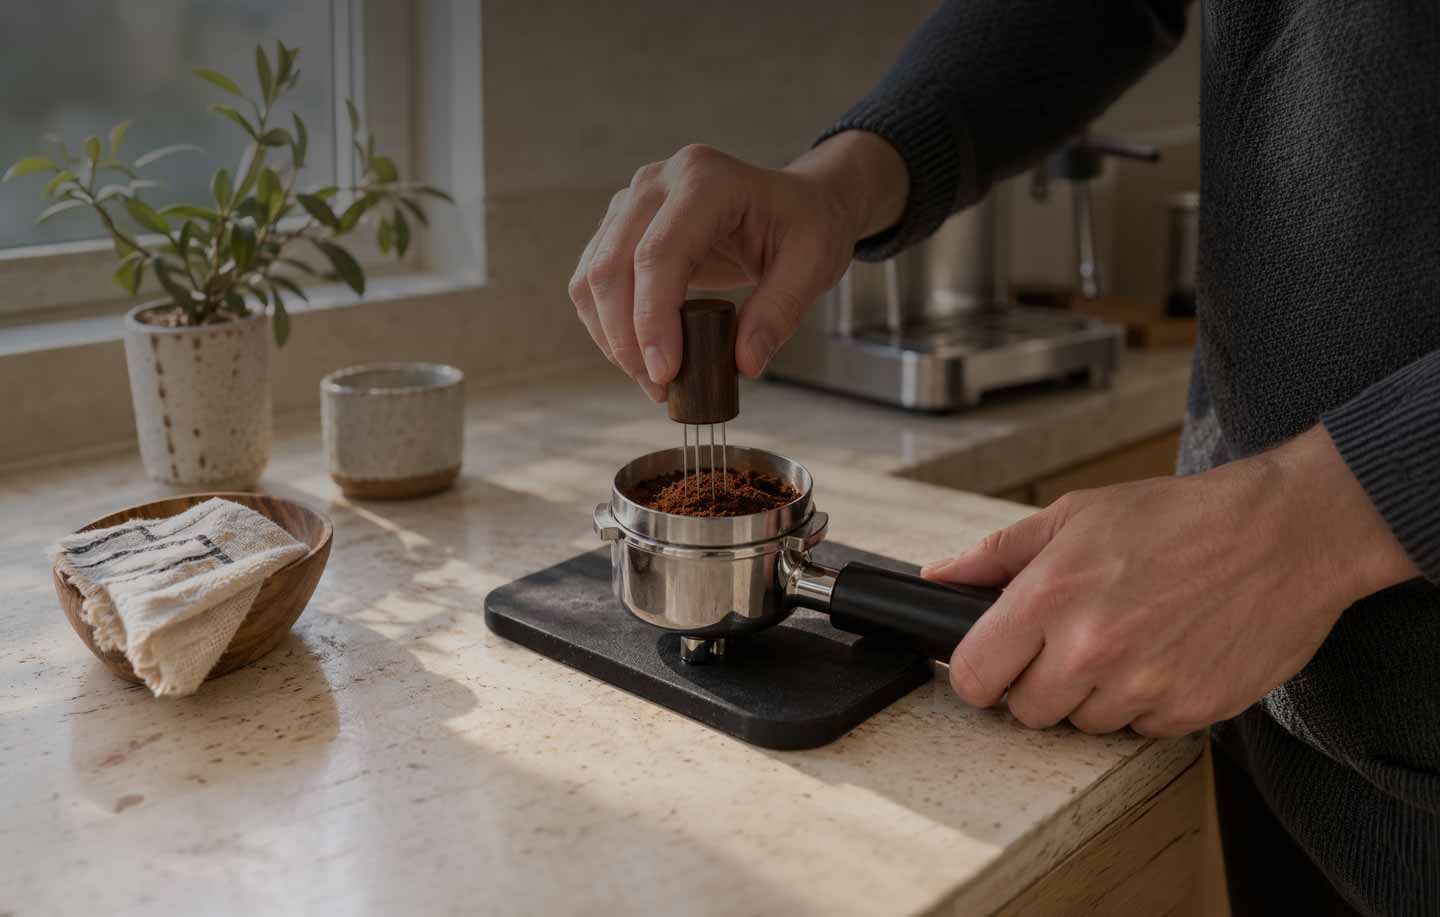
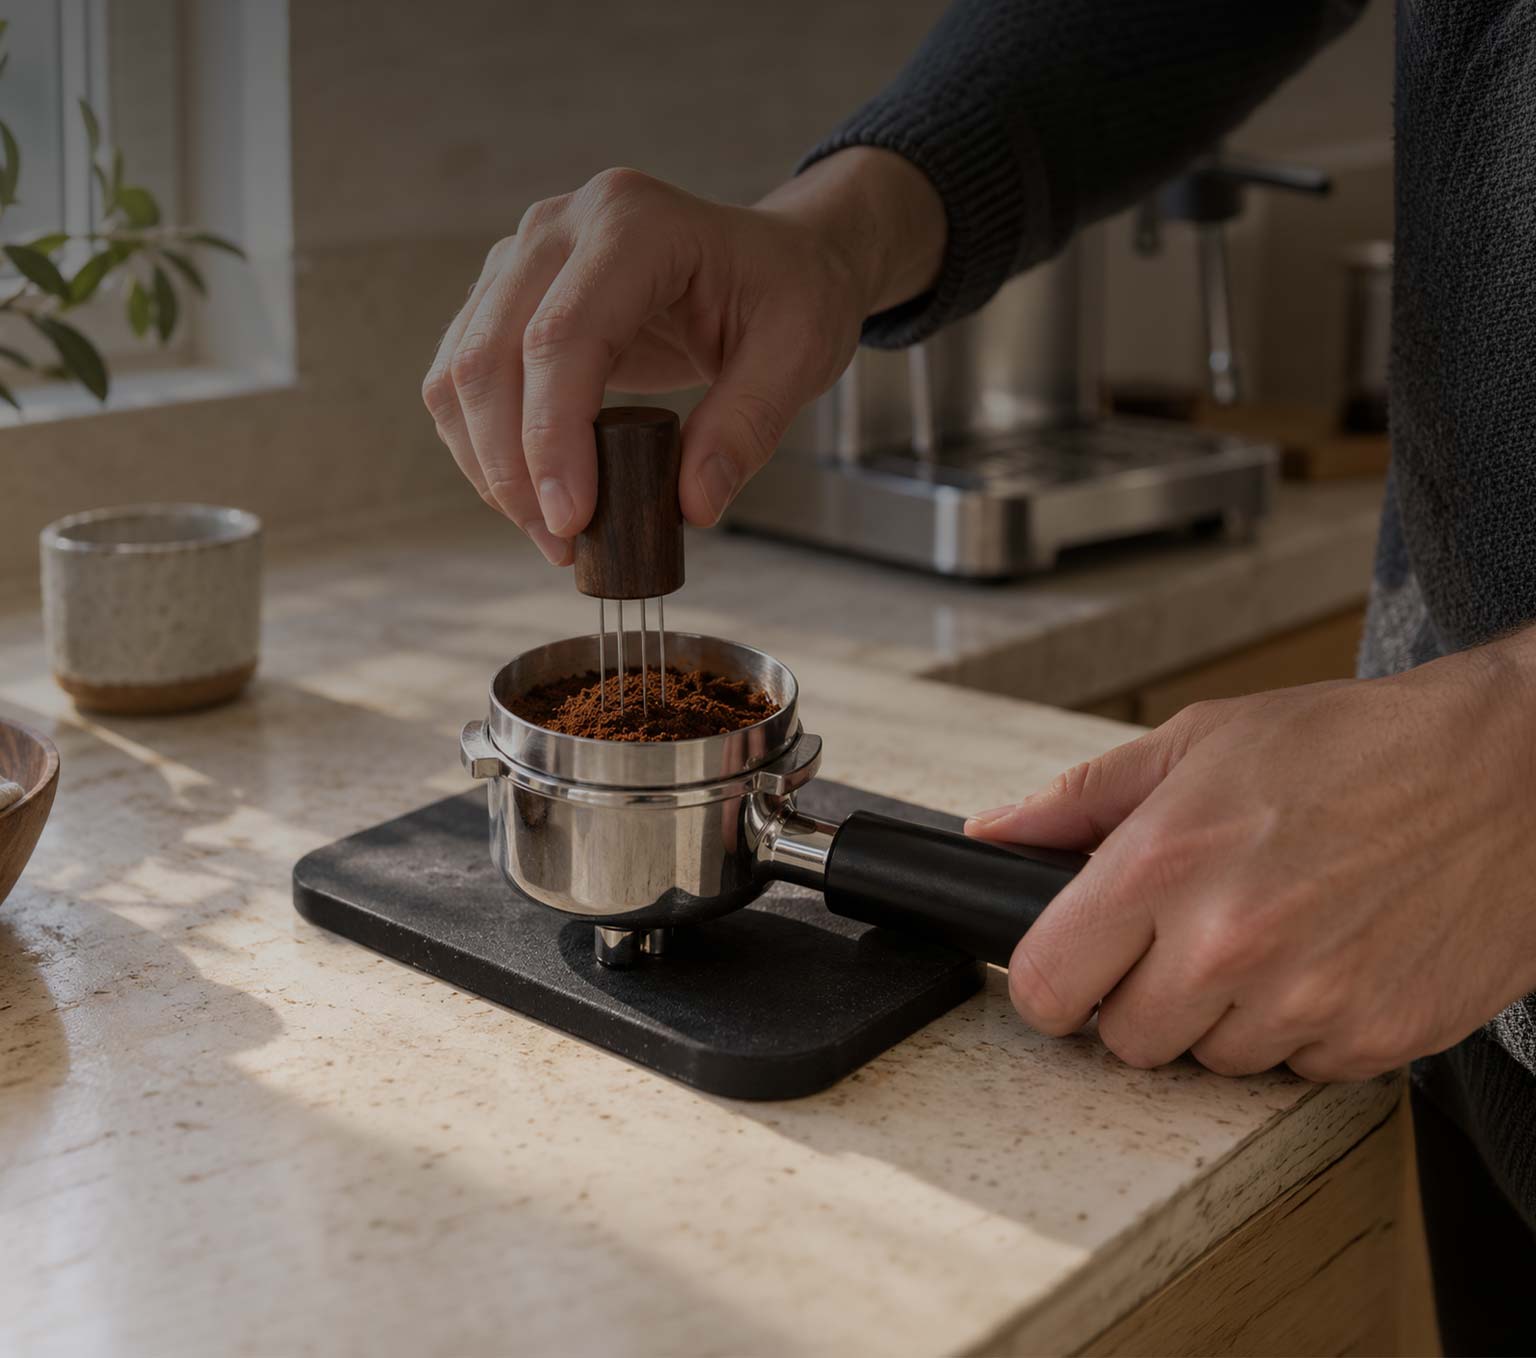
WDT is a puck-prep method where you stir ground coffee inside the portafilter basket with a thin needle or a small bundle of needles before tamping. The stirring motion breaks up clumps left behind by grinding and redistributes the grounds so the bed has a consistent density from edge to edge and top to bottom.
The technique is named after John Weiss, a retired professor and coffee enthusiast who described it on the Home-Barista forum in December 2005 as a fix for the clumping problems common with home grinders at the time. He originally used a single dissection needle; modern WDT tools typically use a small fan of thin needles, usually between 0.1 and 0.5mm in diameter, mounted in a handle so multiple passes can be made quickly.
The core idea hasn't changed in twenty years: loosen and even out the grounds before compression, so the tamp locks in a uniform bed rather than a uniform-looking surface hiding uneven density underneath.
Why clumps ruin your espresso (channeling explained)
Espresso extraction depends on water moving through the coffee bed at a controlled, even rate under roughly 9 bars of pressure. Water under that kind of pressure behaves predictably: it takes the path of least resistance. If part of the coffee bed is looser or less dense than the rest, whether from a clump, an air pocket, or an unevenly tamped spot, water will rush through that weak point disproportionately. This is channeling.
Grinding for espresso produces very fine particles, and fine particles clump easily, partly from moisture and partly from static electricity generated as they pass through the grinder's burrs. If those clumps go into the basket unbroken, tamping compresses them into small, dense nodes surrounded by looser, more permeable coffee. Water then floods around the nodes rather than through them.
The result is a genuinely strange-tasting shot: the channel itself gets blasted with water and over-extracts, turning bitter and harsh, while the rest of the puck barely sees water and under-extracts, turning sour and thin. Because both effects happen in the same cup, channeling is often harder to diagnose than a simple "too fine" or "too coarse" grind problem. Adjusting grind size alone won't fix it, because the issue isn't the particle size, it's how unevenly those particles are distributed before extraction starts.
Static is worth calling out specifically, since it's an underrated contributor. A related technique called the Ross Droplet Technique (RDT), lightly misting whole beans with water before grinding, is often used alongside WDT specifically to reduce static and the clumping it causes at the source.
How to WDT Properly
- Grind directly into the portafilter basket, ideally with a dosing funnel attached to catch stray grounds and keep the mound centered.
- Insert the needle(s) near the basket wall, close to the bottom of the bed.
- Stir in a spiral motion, working from the outer edge toward the center and from the bottom of the bed up toward the surface. The goal is to reach every part of the bed, not just skim the top.
- Repeat for 10–15 seconds, continuing until the surface looks uniformly fine and fluffy, with no visible clumps or dense spots.
- Do one final light pass across the surface only to level it before tamping. Some baristas treat this as a separate step (see "shallow WDT" below).
- Tap the portafilter once, gently, straight down to settle the grounds and release any trapped air pockets, then tamp with level, consistent pressure.
The most common mistake is stirring only the top layer. Clumps often form deeper in the bed, closer to where the grounds first land, so a WDT pass that never reaches the bottom of the basket leaves the actual problem untouched even though the surface looks fine afterward.
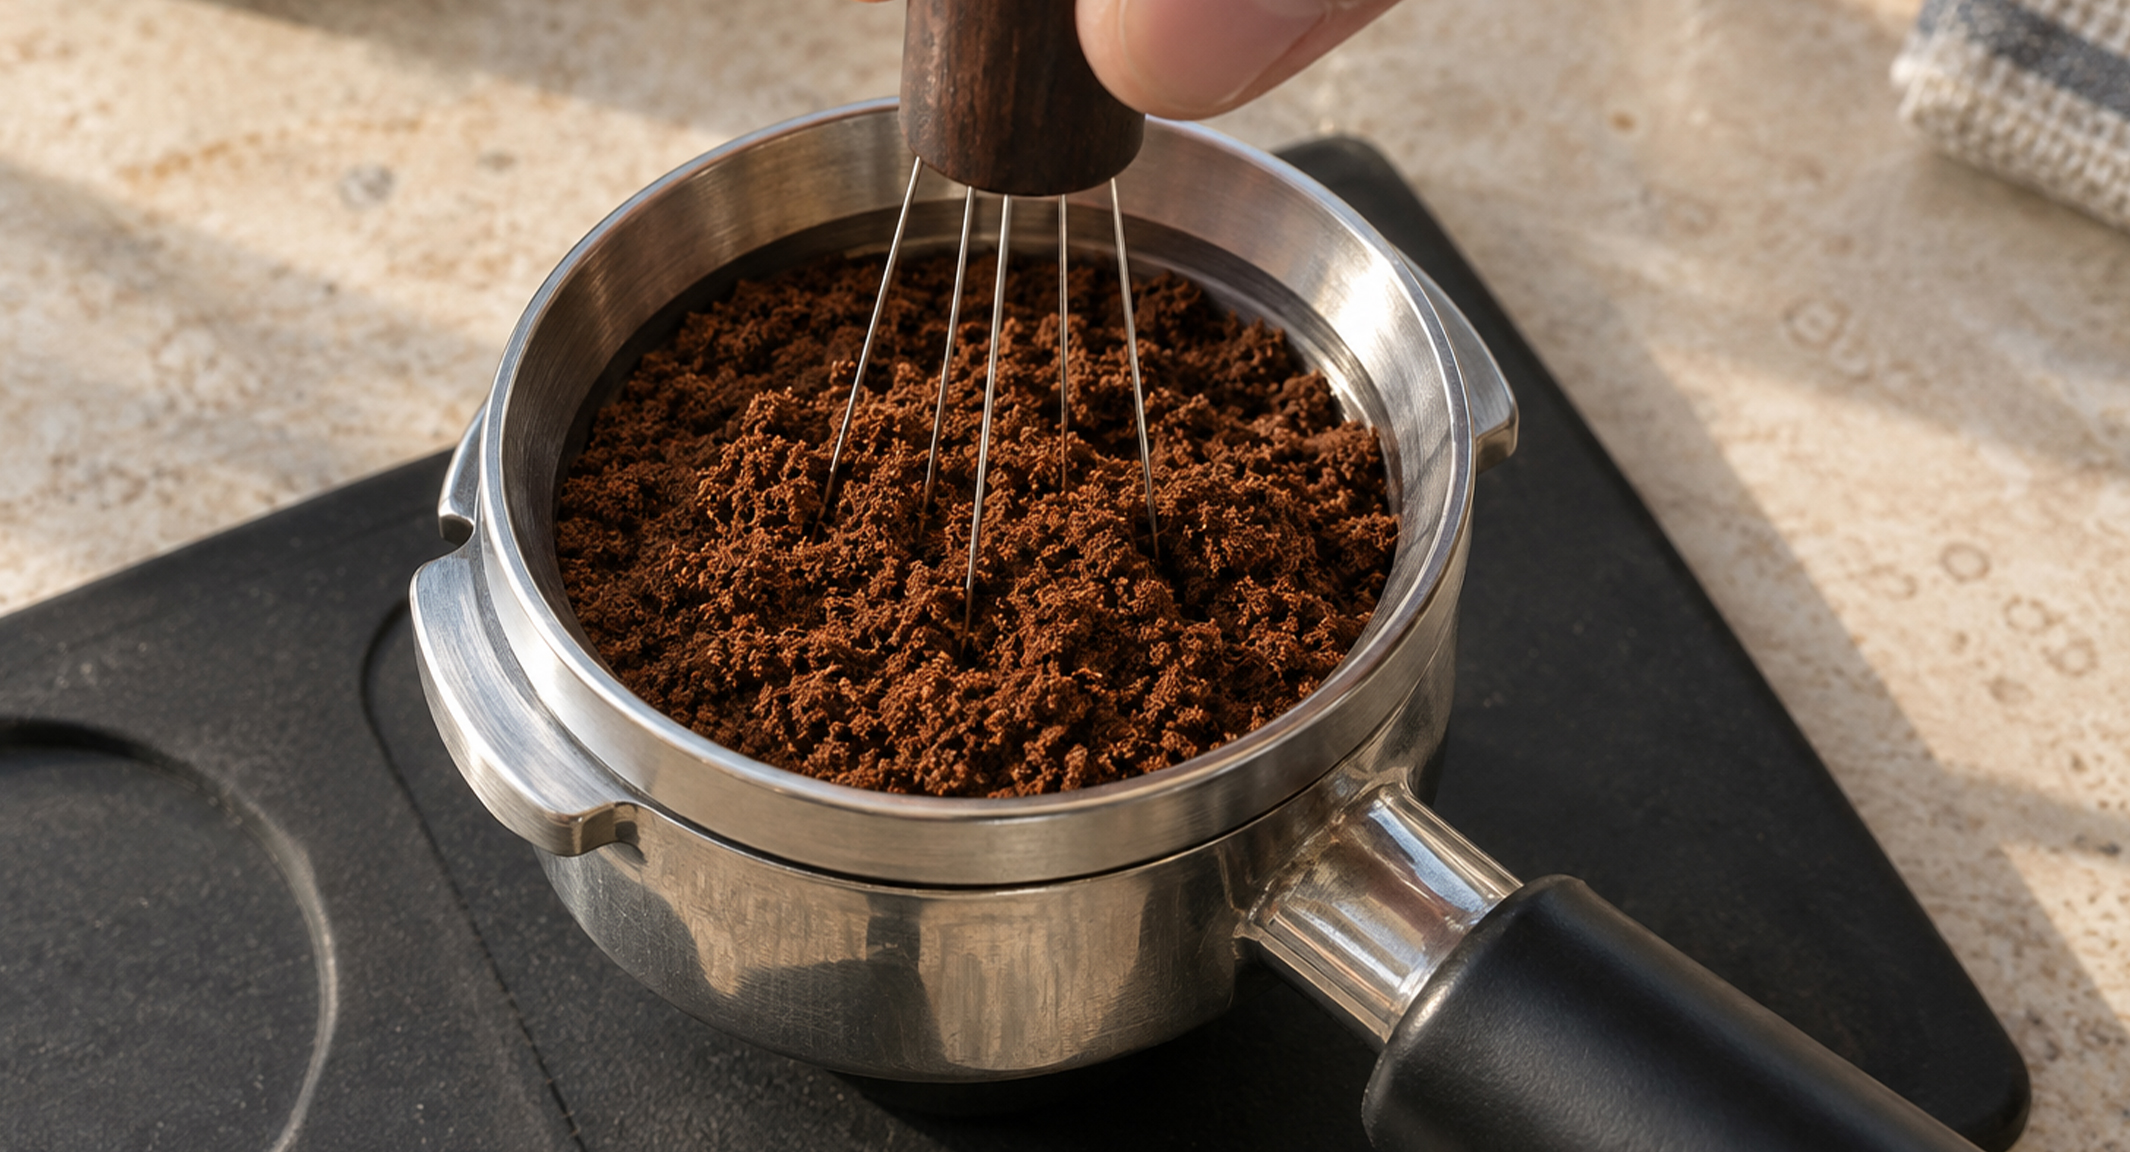
Deep WDT vs. Shallow WDT (Puck Raking)
As WDT has been refined over the past two decades, it's split into two related but distinct practices, and it's worth knowing the difference:
- Deep WDT is the original technique: needles driven all the way to the bottom of the basket, breaking up clumps throughout the entire bed. This is the version to use if your grinder is prone to clumping.
- Shallow WDT, sometimes called puck raking, works only the top layer of the grounds to level the surface without disturbing the density below. This approach is based on the idea that modern, well-maintained grinders produce far fewer clumps than the home grinders WDT was originally designed for, so a full deep stir is often unnecessary and can even loosen an otherwise well-settled bed.
In practice, many home baristas do both in sequence: a deep pass first to break up any clumps, followed by a shallow pass to level the surface cleanly before tamping. Which approach matters more for your setup depends largely on your grinder, covered below.
DIY alternatives to a WDT tool
No dedicated tool is required to get the benefit of WDT. A few honest, functional alternatives:
- A straightened paperclip is the most common starting point, and it works. Any clean, thin, and rigid wire will do.
- A sewing needle or a set of acupuncture needles taped or glued into a small handle approximates a basic WDT tool for close to nothing.
- A toothpick can work in a pinch, though it's thicker than ideal and less effective at reaching fully through denser clumps.
Dedicated WDT tools (fans of multiple fine needles in a handle, sometimes with a rotating or geared mechanism) mainly offer speed and ergonomics, since you can cover the bed in fewer passes with less wrist movement. They don't fundamentally do anything a careful DIY tool can't. If you're deciding whether it's worth buying one, try a paperclip or needle first. If you find yourself doing this daily and want a faster, more comfortable version of the same motion, that's the point to consider a purpose-built tool.
Do you actually need WDT at all?
This is worth answering honestly rather than treating WDT as a universal requirement, because it isn't one.
WDT exists to solve a specific problem: clumpy, unevenly distributed grounds. Whether your setup has that problem depends heavily on your grinder. Larger, high-end grinders (roughly 75mm burrs and up) tend to produce fluffier, more uniform grounds with fewer fines and less clumping, and users of these grinders often report little to no difference with or without WDT. Smaller grinders, including most grinders in typical home price ranges (around 55mm burrs and under), are more prone to clumping and static, and tend to see a more noticeable improvement from WDT, particularly with a naked (bottomless) portafilter, where channeling shows up immediately as uneven or spraying streams.
If you're not sure which category your setup falls into, the simplest test is visual: pull a shot with a naked portafilter, without WDT, and watch how the coffee starts to flow. A single, centered stream that thickens evenly suggests your grinder and prep are already in good shape. Multiple thin jets shooting sideways or an off-center stream is a clear sign that WDT (and likely a look at your grind consistency more broadly) would help.
Common mistakes when doing WDT
- Stirring too fast or too shallow. Speed doesn't help if the needle never reaches the bottom of the bed where clumps actually form.
- Skipping the funnel. Without one, grounds scatter outside the basket during grinding, which throws off your dose and can leave an uneven mound before you've even started.
- Treating WDT as a substitute for distribution and tamping, rather than the first step in the sequence. WDT breaks up clumps; a separate leveling pass and a level tamp are still needed to lock in an even bed.
- Using a needle that's too thick. Anything much heavier than a paperclip tends to push clumps aside rather than breaking through them.
- Ignoring static and moisture as root causes. If clumping is severe and consistent, WDT is treating the symptom; pairing it with RDT (misting beans lightly before grinding) often addresses the underlying cause.
FAQ about Weiss Distribution Technique
Does WDT work for coarser grinds too, like for a Moka pot or drip coffee?
It can help with any brew method that uses a compacted, saturated bed, but it matters far less outside of espresso. Coarser grinds clump less to begin with, and non-espresso methods aren't as sensitive to channeling since they don't rely on 9 bars of pressure finding the path of least resistance. WDT is really an espresso-specific fix for an espresso-specific problem.
Can WDT make my espresso worse?
Done correctly, no. It doesn't add or remove any coffee, just redistributes it. The main way it can hurt results is indirectly: excessive, careless stirring can add unwanted air pockets if you don't tap or level the bed afterward, or it could waste time if your grinder never produced clumps to begin with.
How long should WDT take?
About 10 to 15 seconds is typical for a full deep pass on a standard home dose (roughly 18–20g). Longer than that usually isn't adding much benefit and starts to slow down your workflow for no real gain.
Do I need WDT if I already use a distribution tool?
Usually yes, at least for a deep pass. Distribution tools level and smooth the surface but generally don't reach deep enough to break up clumps lower in the bed. Many home baristas use WDT first to declump, then a distribution tool to finish leveling the surface before tamping.
Is WDT worth it for beginners, or should I master the basics first?
WDT is one of the cheapest, lowest-risk upgrades to a home espresso routine, a paperclip costs nothing, and there's little to master beyond the motion described above. It's a reasonable early addition alongside dialing in grind size and dose, not something to save for later.