*Lavazza is not affiliated with, endorsed or sponsored by Nespresso
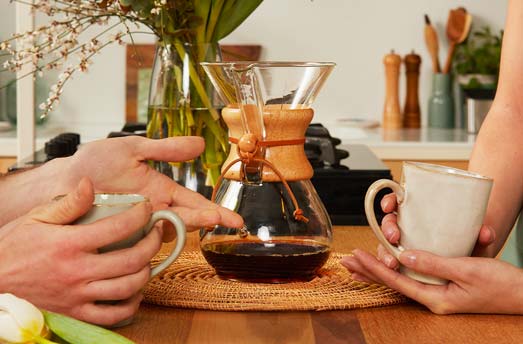
How to make coffee using the Chemex method
There are many legends surrounding coffee as if it were a popular myth or even a cult. But why is coffee one of the most popular drinks in the world and why is it so irresistible? Many have wondered about its secrets. We could confidently say that the culture of coffee is spread all over the world and that each country has its own habits, its own preparations and different types of coffee.
So, let's see how to prepare a good coffee at home using the Chemex method.
How to make perfect coffee in 9 steps
What do you need to make coffee at home? For the brewing, you may need the following coffee accessories:
- Pour-over brewing device (Chemex-type brewing vessel)
- Goose-neck spouted water kettle
- Burr grinder
- Filter (either paper or metal, to fit brew method)
- Fresh-roasted whole-bean coffee or medium-coarse beans.
- Hot water
- Scale
- Timer
STEP 1: THE COFFEE BEANS
The fresher and better sourced your beans are, the easier it will be for you to brew the best coffee. The type of coffee you choose is undoubtedly an essential starting point.
STEP 2: THE RATIO OF WATER TO COFFEE
The ideal measurement for a perfect coffee is 1:17 ratio for coffee to water. In this way your cup won’t be too strong, nor too weak, but just as it should be. A 1:16 or even 1:15 ratio could grant a more intense taste. In other words, 2 tablespoons of ground coffee correspond to 4 oz of water. These are the standards for a good cup.
STEP 3: GRIND THE COFFEE
For a fresh and delicious coffee, you should be grinding your beans right before brewing. This will allow you to properly extract all the fragrant aromas and flavors of the beans. You will set your grinder in the way that best fits your brewing method.
Extracting the right amount of flavor from your coffee beans is not so obvious: if you are not careful enough, you can under or over extract your coffee. To make it right, you should pay attention to three different variables: water contact time, water temperature and turbulence, which you can achieve from the natural agitation of the water hitting the coffee grounds, while stirring with a spoon during the pour-over method.
STEP 4: BOIL THE WATER
Bring the water to a boil and let it cool for one minute, as it reaches a usable temperature. Water is a rather determining factor in brewing a perfect tasting coffee and it is important for it not to contain any visible impurities. While waiting, you may complete the next step!
STEP 5: PLACE THE FILTER
There are three different filtering methods you can adopt. Metal coffee filters as those which are used in the Chemex may let in more insoluble solids, giving your coffee more body and a cloudy appearance. A middle ground can be found with the cloth coffee filter, which might let in less oils and solids for a less cloudy coffee. However, they can be impractical as they are not easy to clean.
The most common type – the one more than 90% of people use – is the paper coffee filter. Since it may confer a papery taste to your coffee, all you need to do is pour some hot water on it and let it sit for a couple of minutes before use.
STEP 6: PLACE THE COFFEE IN THE FILTER
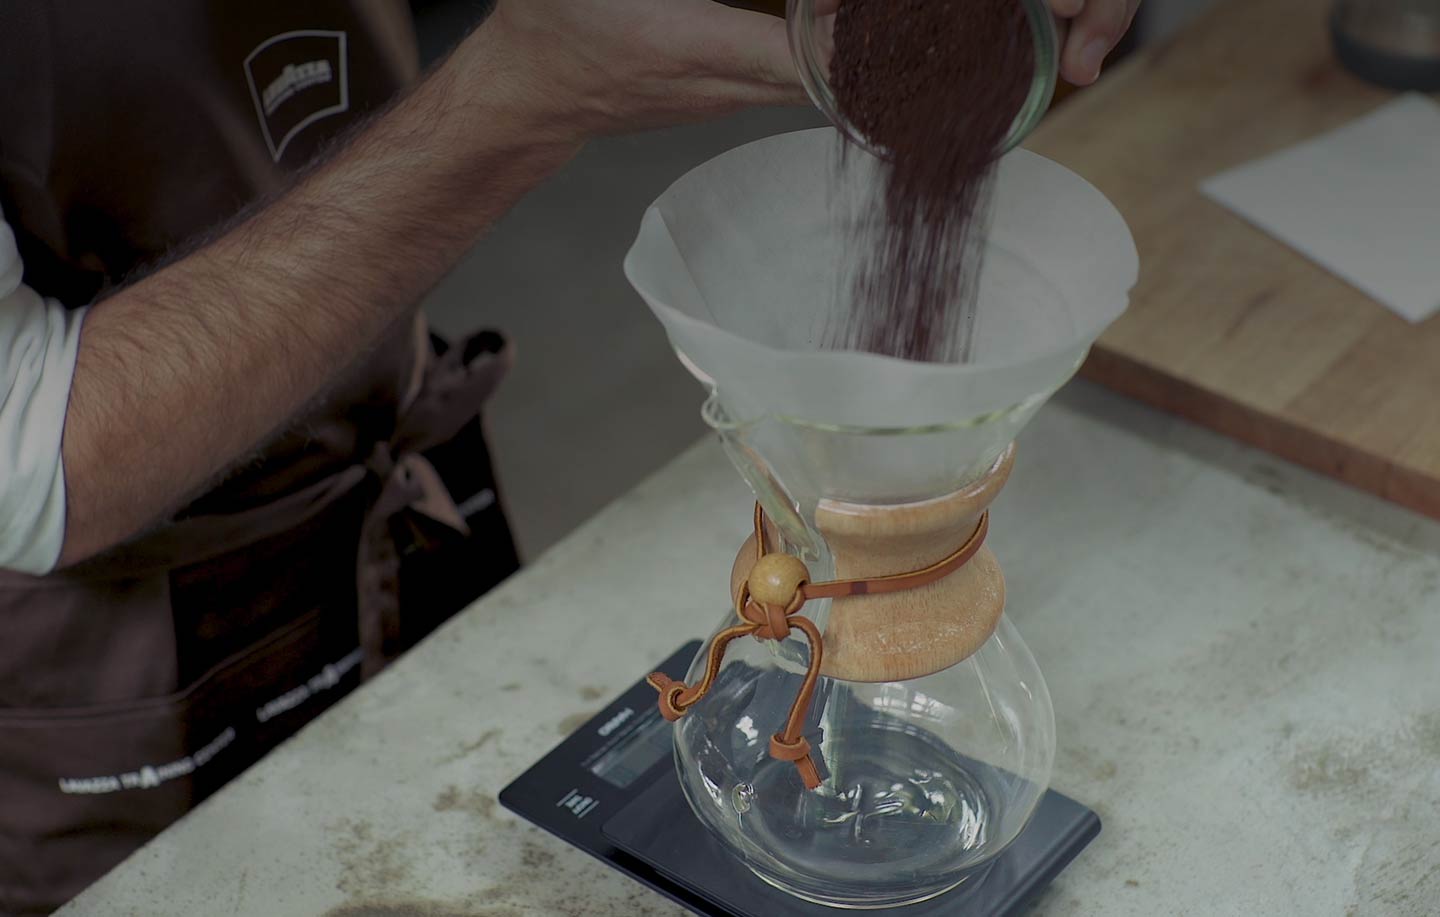
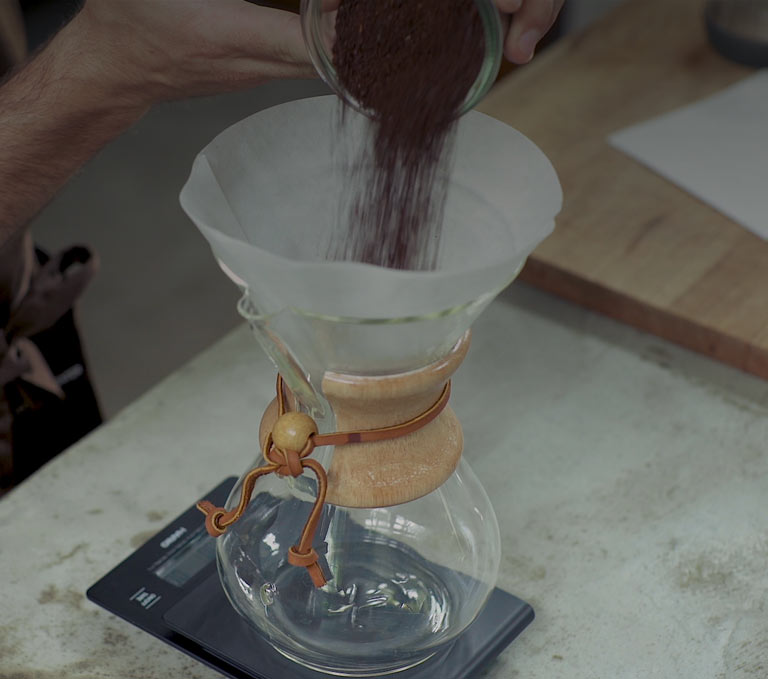
It’s brew time! Take your ground coffee and dump it in the middle of the newly rinsed filter.
STEP 7: POUR AND WAIT
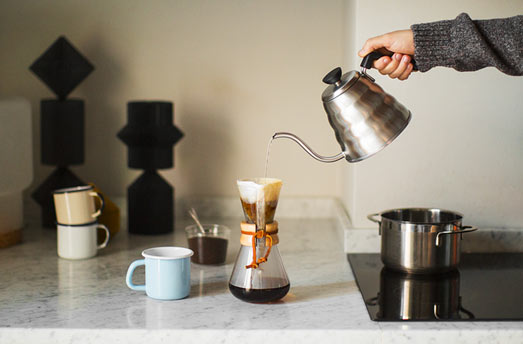
For the first pour, the so-called blooming pour, go with a relatively short one adding twice the amount of water to the filter as the amount of coffee. If freshly roasted and ground, the coffee will soon start bubbling and foaming. Resume pouring after 30 to 45 seconds.

STEP 8: CONTINUE POURING
Right when the bubbles stop, resume your pouring over the next three minutes, slowly and patiently guiding the stream of water in a spiral motion over the grounds to saturate them. You may need to stop from time to time, to allow the foam and water to subside. This pacing allows you to extract a better and less bitter flavor.
STEP 9: ENJOY YOUR COFFEE
Lift the funnel, take the filter off the mug and dispose of the grounds. Time for you to enjoy the result of your efforts!
